
Partner help center · Plans and billing
Upgrade or downgrade
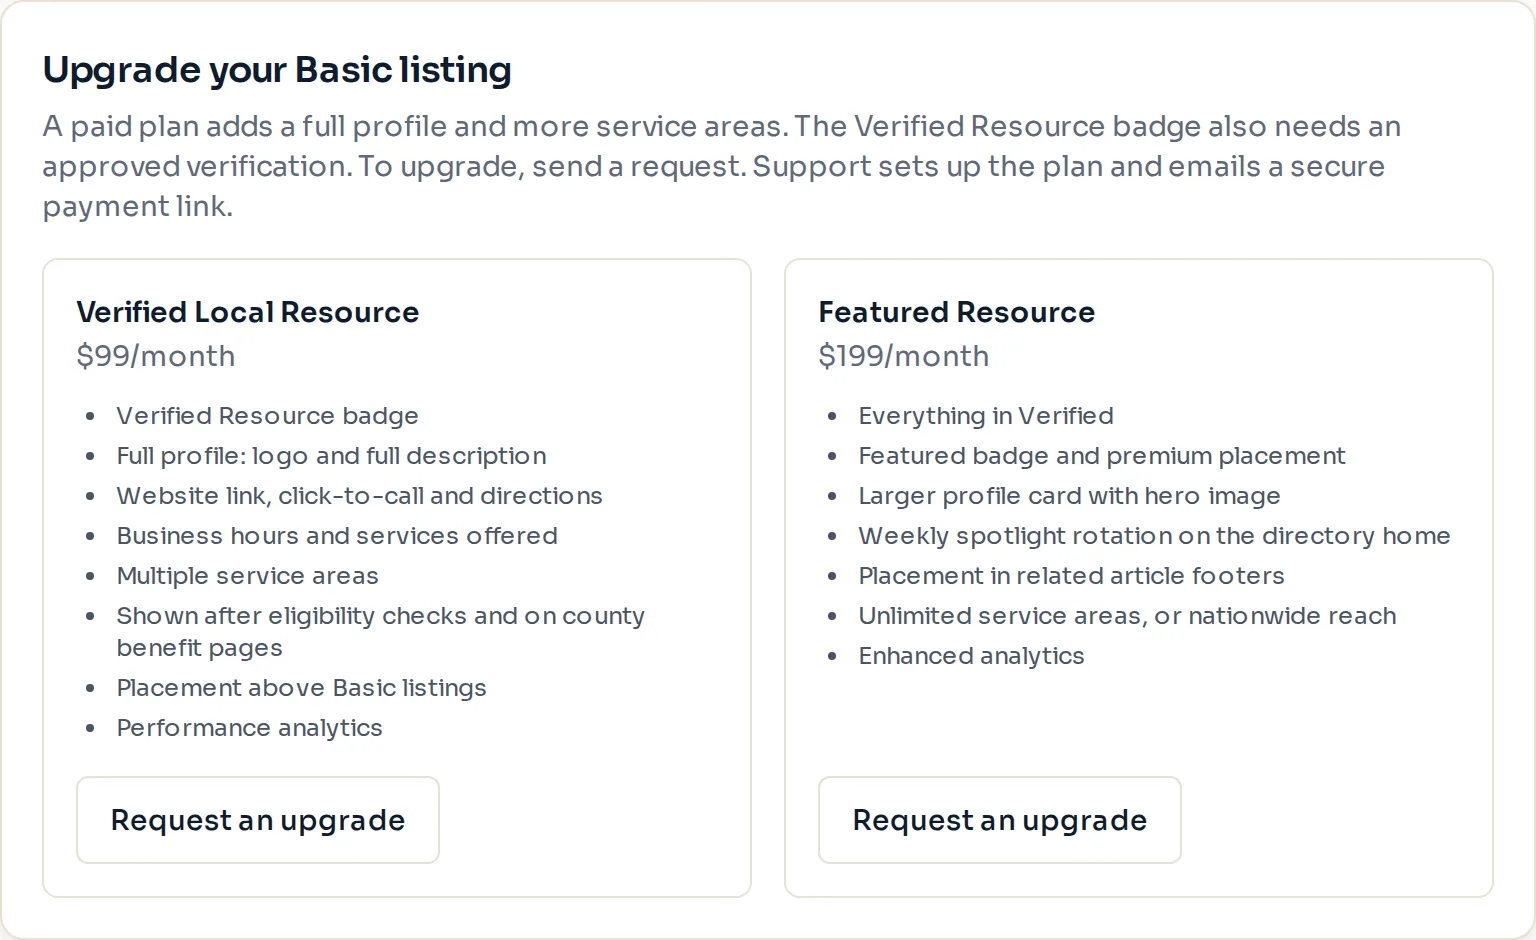
Plan changes live on the "Billing" page. From Basic you send a request and support sends a payment link. On a paid plan you switch between Verified and Featured yourself.
From Basic to a paid plan
- Sign in and open "Billing", or use the "Upgrade your Basic listing" card on the listing dashboard.
- Select "Request an upgrade" under the plan you want.
- Support sets up the plan and emails a secure Stripe Checkout link, usually within one business day.
- Complete the checkout. The full profile and placement switch on as soon as the payment goes through, and a welcome email confirms it.
Between Verified and Featured
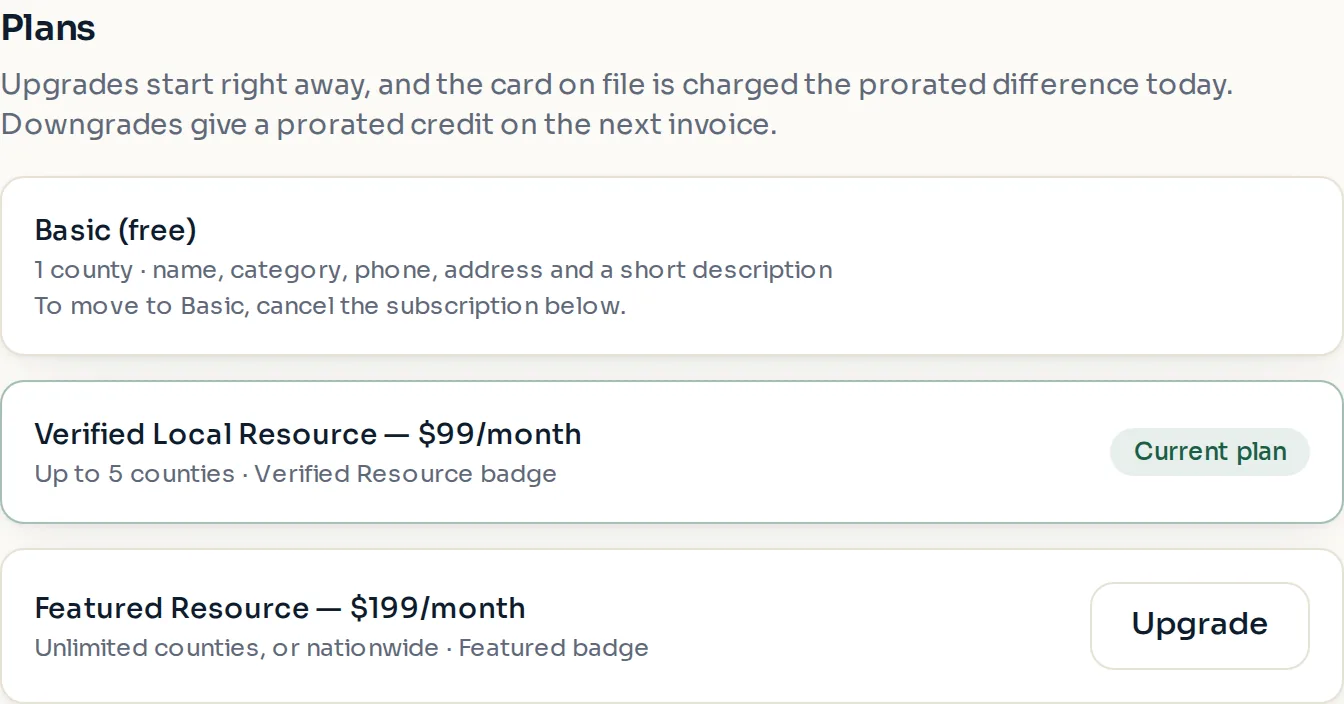
- Open "Billing". Your current plan is marked "Current plan".
- Select "Upgrade" or "Downgrade" next to the other plan.
- Read the confirmation panel. It says what is charged or credited and when the change takes effect.
- If the new plan allows fewer counties than you have selected, pick which counties to keep.
- Confirm. An email with the details follows.
How the money works
An upgrade starts right away. The card on file is charged the prorated difference for the rest of the current billing period today, and the new monthly price applies from the next renewal. If the card is declined, the plan stays as it is.
A downgrade gives a prorated credit on your next invoice. Nothing is charged today. Featured styling and placement end right away.
Moving to Basic is done by canceling the subscription. The listing stays up as a free Basic listing.
Paid placement never changes anyone's eligibility results. Read the advertising policy.